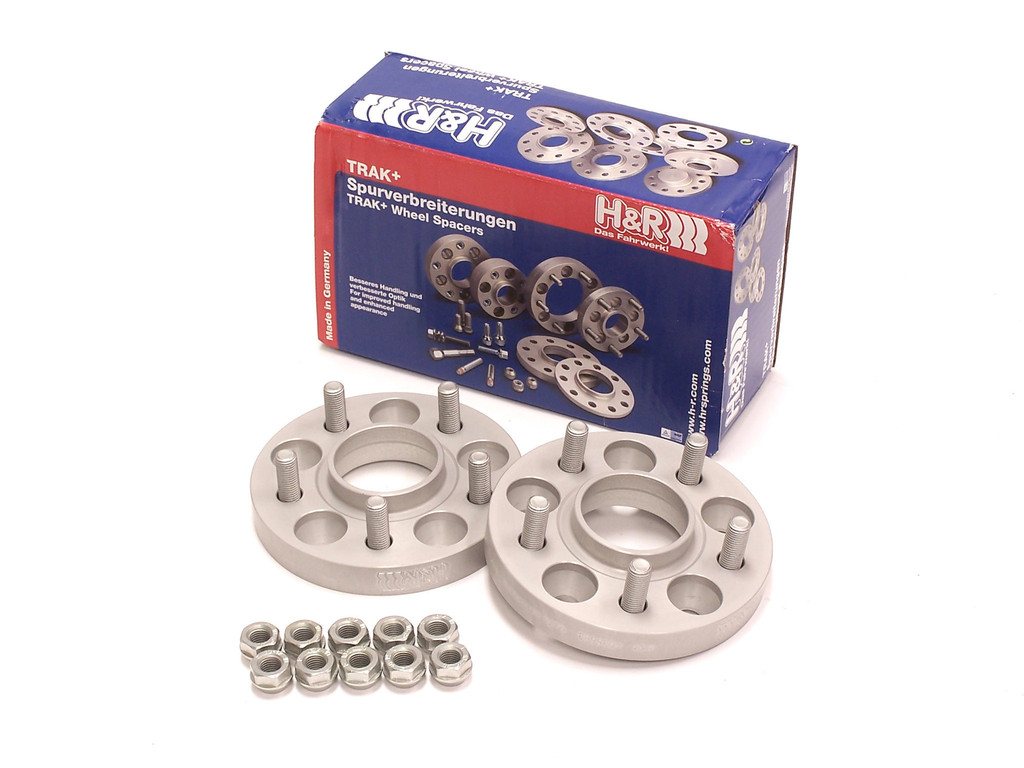
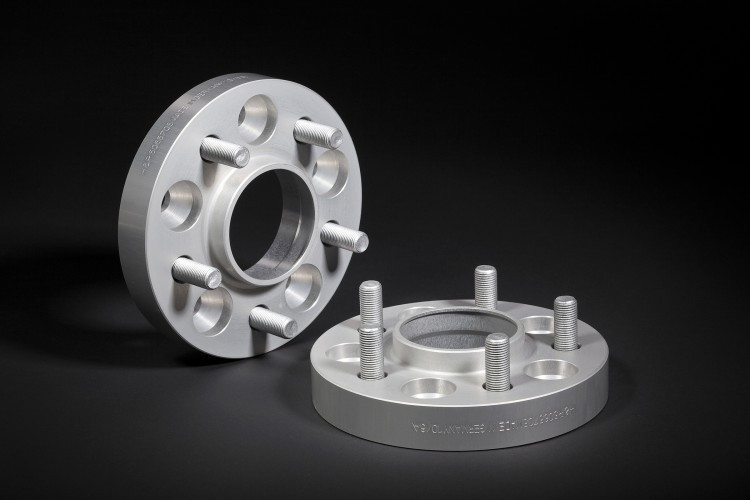
H&R TRAK+ DRM 轮圈垫片 - 5x10⁸ - 30mm

产品细节

产品描述
Wider is Better! H&R TRAK+® Wheel Spacers provide simple and effective vehicle track widening for improved handling, performance, safety, and a 'perfect stance'. Featuring a 'perfect fit' hubcentric design, TRAK+® Wheel Spacers are extremely durable and lightweight thanks to a proprietary aluminum/magnesium alloy.
DRM Series spacers bolt to the hub with existing wheel studs and special nuts (included). Wheel is bolted to new DRM wheel studs.
Focus ST 2013+ / S
- Bolt Pattern: 5/108
- Center Bore: 63.3
- Bolt / Stud: Stud
- Thread Type: 12x1.5
- Spacer Type: DRM
- Width: 30.0mm
如何测量
1. Gather Tools
To properly measure your wheel gap you will need a few simple tools:
- Measuring device with millimeter units - Straight edge--Yard stick or similar
2. Check Your Gap
- Place a straight edge flush with the face of the wheel and tire combination. Make sure the straight edge touches the tire in two spots to keep the straight edge even with the tire.
- Use the measuring device to measure from the inside of the straight edge to the inner fender lip. (see diagram)
- Make sure that the measurement is taken at the point where the wheel and tire is closest to the fender. For instance, on a car with a large amount of negative camber the tire and wheel may be closest at the front or rear edge of the fender.
安装指南
1. Check Parts
Make sure that you have the correct part numbers, accessories--bolts, nuts, studs--and that you have the required tools.
2. Remove Wheels
This step should be performed by a qualified auto mechanic in accordance to manufacturers guidelines. Follow TRAK+® installation instructions in Step 3. Repeat for each remaining wheel.
3. Installation Tips
Make sure to review the installation tips listed below for the TRAK+® Wheel Spacer series that you are having installed.
DRM Installation Tips
- Remove wheel.
- Place TRAK+® Wheel Spacer on hub of car making sure that the spacer is fully seated and flush with the hub.
- Use supplied nuts to fasten spacer to original studs. Carefully hand turn nuts making sure that they spin in easily so as to not cross-thread.
- Repeat step 3 with the remaining nuts.
- With hand wrench, snug up the nuts in a star pattern.
- Tighten nuts in a star pattern using torque wrench set to manufacturers specification.
- Make sure original studs do not protrude past spacer, see note 8.
- Place wheel onto the new studs and firmly seat against wheel spacer.
- Fasten wheel with original nuts. Carefully hand turn nuts making sure that they spin in easily so as to not cross-thread.
- Repeat step 9 with the remaining nuts.
- With hand wrench, snug up the nuts in a star pattern.
- Before fully tightening, spin the wheel and tire to check for any noise or interference.
- Tighten the wheel nuts in a star pattern with a torque wrench set to wheel manufacturers specifications.